This article contains affiliate links. This means if you click a link and make a purchase, the corporate conglomerate may get a few fewer of your dollars, which will instead go toward the cost of maintaining this site.
I found a sneaky good deal on a DJI Osmo 4 Adventure package in an open-box condition from Adorama on Amazon, specifically for use with my vehicle on road trips.
Quickly, I realized I wanted a single setup that would accomplish 2 things:
- Let me attach the camera wherever on my truck that I want to put it
- Protect the camera from damage, however I attach it
With that, I found the following DJI Osmo action camera accessories and regularly use them on every camping or road trip:
Upgraded aluminum cage by SmallRig

This thing looks nicer and feels sturdier than the DJI cage that came in the DJI Osmo’s box. But more than that, it provides access to the battery/memory card door, which the OEM one did not (ANNOYING!), and it also provides extra mounting options for the camera onto an accessory with multiple 1/4 holes, and also a coldshoe mic on top.
DJI 1.5m extension rod

I might be the only person who has been dumb enough to mount their name-brand action camera above and behind their vehicle and then drive it at freeway speeds and offroad, but I prefer to call it “calculated risk-taking.”
The DJI 1.5m extension rod comes in the box when you get the adventure package, but they sell it separately for around $70. This is part of the setup I use to hoist the camera 8 to 10 feet into the air, and maybe a foot behind my truck. I also use the extension rod to mount the camera to the side of my truck, on the side mirror or on the truck bed.
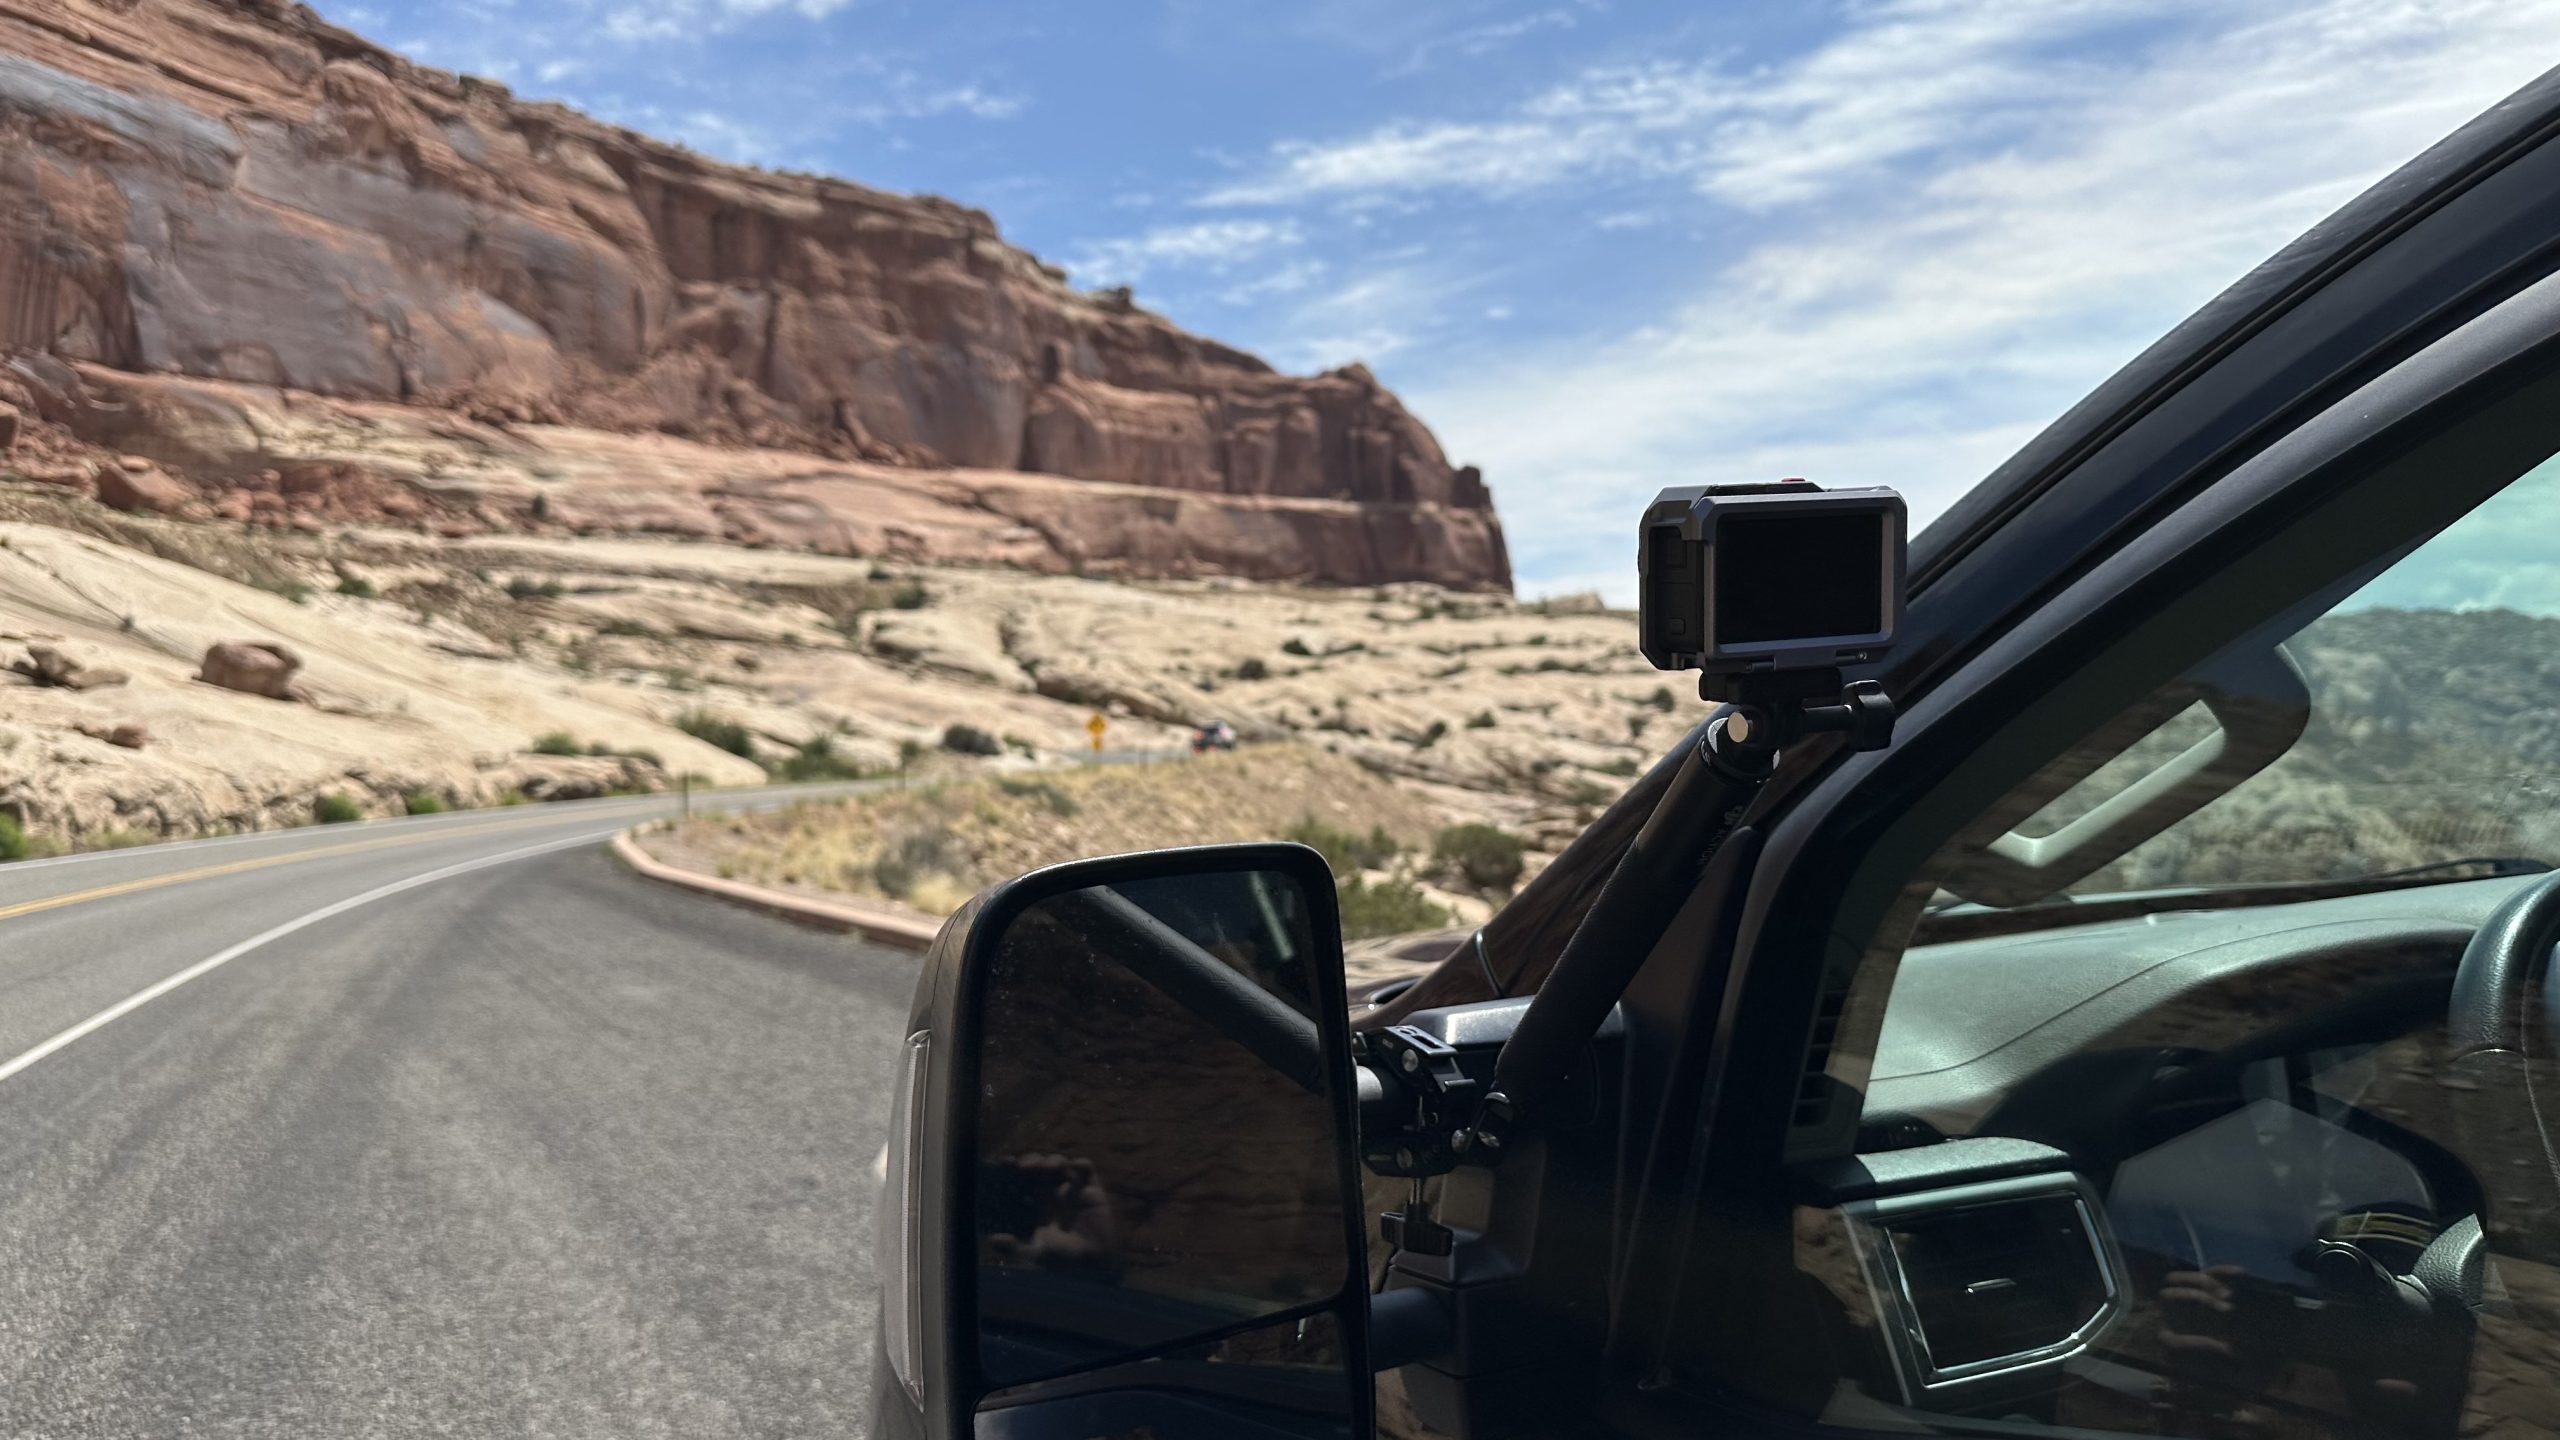
Neewer Super Clamp with Magic Arm

I use this clamp with the extension rod to secure the rod to my truck’s bed rack. I also use it to mount the camera onto my truck’s side mirror. This is probably the most important part of the setup, and it certainly seems more secure than all the suction cup solutions out there. I have also used it to record parts underneath the truck while driving to help diagnose issues. The Neewer clamp does it all! Highly recommended.
Short Bungee cords and Velcro strap
When extended to the position described above, the extension rod is in danger of falling and/or moving, which would not be good while driving. I use the strap and bungee cords to secure the extension rod to the truck’s bed rack, because without it, the rod, while the clamp would keep it attached, would fall down and start dragging behind the truck, or might slide around in the air behind the truck while still attached with the clamp at the base.
Screen and lens protectors
Driving around with a camera 8 feet in the air behind your vehicle comes with inherent risk of damage to the device, so along with the aluminum cage, I also added screen and lens protectors. This pack also came with some silicone lens caps, which I use consistently.
Handheld tripod

I use a handheld tripod that came with a smartphone accessory, but any handheld tripod with a 1/4 mounting screw will do the trick.
Continuous Power
If I mount this thing above or on the side of my truck for a long trip, I want to be able to power it all day without having to swap batteries. Since it supports USB-C recharging, all you need are (1) a long USB-C cord and (2) a power source.
Oddly enough, the solution I found for this was an exterior home camera by Tapo, because it comes with a good quality USB-C solar panel and a 13-ft USB-C cord. But if solar won’t work for you, you can still use the cord and then find somewhere to plug it in (on my truck, I have a 120v power outlet in the bed, so I can plug the cord into a power adapter).
Something to put it all in

The camera and all the accessories are all pretty small, so they’d be easily lost in something like a backpack or a large container You also want to protect them, so you can’t just toss them into a hip pack.
The solutions I found were:
This eyeglass bag by Roka works reeeeeally well as a sleeve to keep just the camera and a small accessory or two. And despite having no drawstring, it does a nice job at keeping items inside the bag, with some sort of snap closure (not a physical snap like on your jeans, but more, you open the mouth of the bag, put the item in, let go, and it snaps “closed”)
And, this bag that was intended to be an insert for a larger suitcase stores everything. It’s a little pricy, but is the perfect size for the camera and all the accessories, and it also provides protection as it was intended for firearm optics or camera lenses. It has an exterior pocket and has lay-flat velcro straps that can be used to mount it to various applications (such as inside a larger bag, or on some other hook-and-loop surface). And with its smaller form factor, it’s easy to store.
Conclusion
The DJI osmo action camera accessories I chose help me get the most uses out of a single setup. Specifically, these three accessories:
These allow me to mount the camera high above my vehicle, on the side of my vehicle, or under it while minimizing (not eliminating) fear of damage to the camera. There are other items like bungees and screen protectors that further enhance the protection of the device, and I can swap out the above items with a small handheld tripod when I want to carry the camera in my hand instead of mounting it somewhere on my truck.
Leave a Reply